Gradient Text in Unity UI Toolkit
A guide on creating gradients for labels using Unity's UI Toolkit.
Gradient Text in Unity UI Toolkit
Introduction
This post will detail how you can create and implement gradients in your text labels in the UI Toolkit in Unity.
Panel Settings & Gradient Asset
To start, you'll need to find the Panel Settings object in your project files that the UI is associated with.
In the inspector, find the Text Settings property, if you do not have a text settings object in the project files, create one, and assign it here. 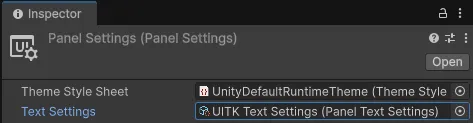
Find the Color Gradient Presents path. You can customise this path to wherever you desire, this is the path in the project files that your UI Gradient objects will live. 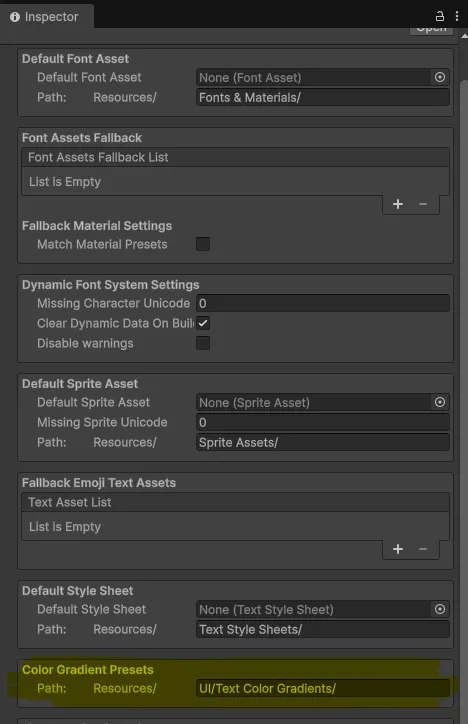
In the above path, you'll want to create a Color Gradient asset. This can be found under Create > Text Core > Color Gradient. It is important that you name this something unique and memorable, I chose MenuTextGradient for my implementation. 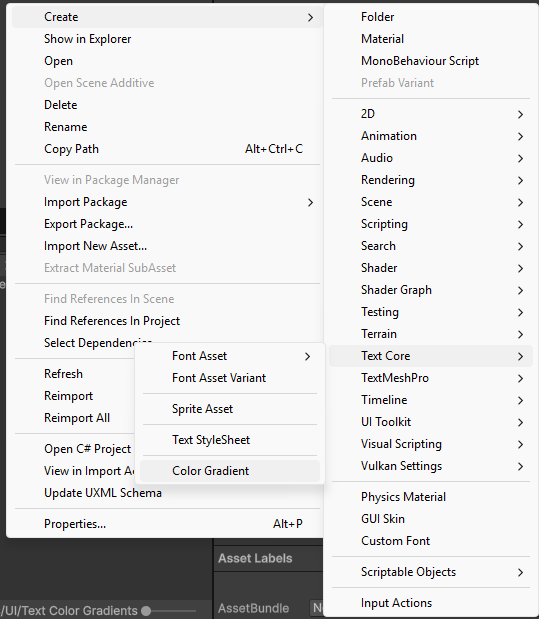
You can now customise this gradient however you deem fit, I've set mine up to be a vertical gradient using colours from some art assets I've received. 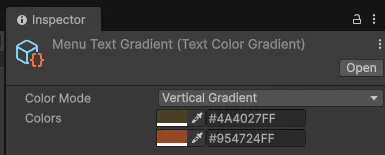
UI Toolkit Setup
Next up, you'll want to open whichever UI Document you're working in, and add a label.
In the properties of the label, ensure Rich Text is enabled to allow formatting of the label, and use the <gradient> tag to assign the gradient created earlier.
TIP
It is important that the name of the gradient in the <gradient={gradient name here}> tag matches exactly with the name of the asset in the project files.

Conclusion
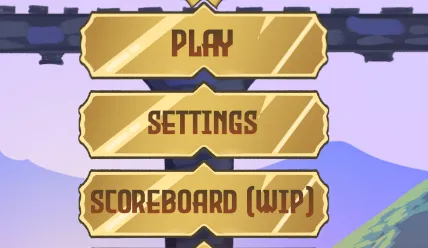
With rich text enabled and the gradient styling applied to the text, your text should now render with a gradient, as seen below!